One thing we did do on our break that was productive was tackle one of our first projects on the "gotta get it done before we list the house" list: The master bath. Well more specifically the first phase of the master bath. On the agenda for this tiny, tiny room (which by the way is the ONLY full bath in the tiny house) is re grout the shower and floor, repaint and fix the vanity. For phase one, we decided to tackle the re grouting because we figured it would be the most tedious job.
Back when we originally updated the bathroom we put white tiles and white grout, very neutral. The only problem is we used a dark grey thin set. A lot of dark grey thin set. You know what happens when a you use white tile, white grout and dark grey thin set? This:

So we busted out the dremel and got a bit (#569) that is specifically for removing grout. It also came with a guide to help you guide the bit and not snag the tile.

For the record even with the bit and the guide you will still snag the tile. Its almost impossible not to. They key is to go s-l-o-w and try to snag it as little as possible. I tried a few times to run the dremel but after 15 minutes and me getting about an inch of grout out Tom took over.

After a few hours, the shower looks like this:

Gross.
And the husband looks like this:

Cranky.
After all the bad grout/thin set was removed we ran a vacuum over it to remove any dust that may have been stuck in between the tiles and gave it a good scrub down. Then it was time to re grout. (We briefly thought about using a grey grout but that would have involved removing ALL the grout. It seriously would have taken days. Instead we just removed the bad parts and re grouted white.)

The end result? Shiny new looking tile! Its purty. And hopefully buyer worthy :)

We didn't get to the floor yet because honestly this "two day" project turned into five. It didn't take long to get the grout out but the whole re grouting, curing, sealing process takes some time simply because you have to let everything dry. Since this is the only full bath we have and I was tired of it being out of commission we decided to tackle the floor later. But at least the shower is done!
So one item off the list and what seems like a million projects to go. We are going to give the bathroom a break for a while and move onto the kitchen. (I know we should finish one project then move to the next but blah. I'm tired of looking at the bathroom). We replaced the old laminate counter tops back in October with a beautiful quartz and just need to install a back splash. After that it's pretty much done.
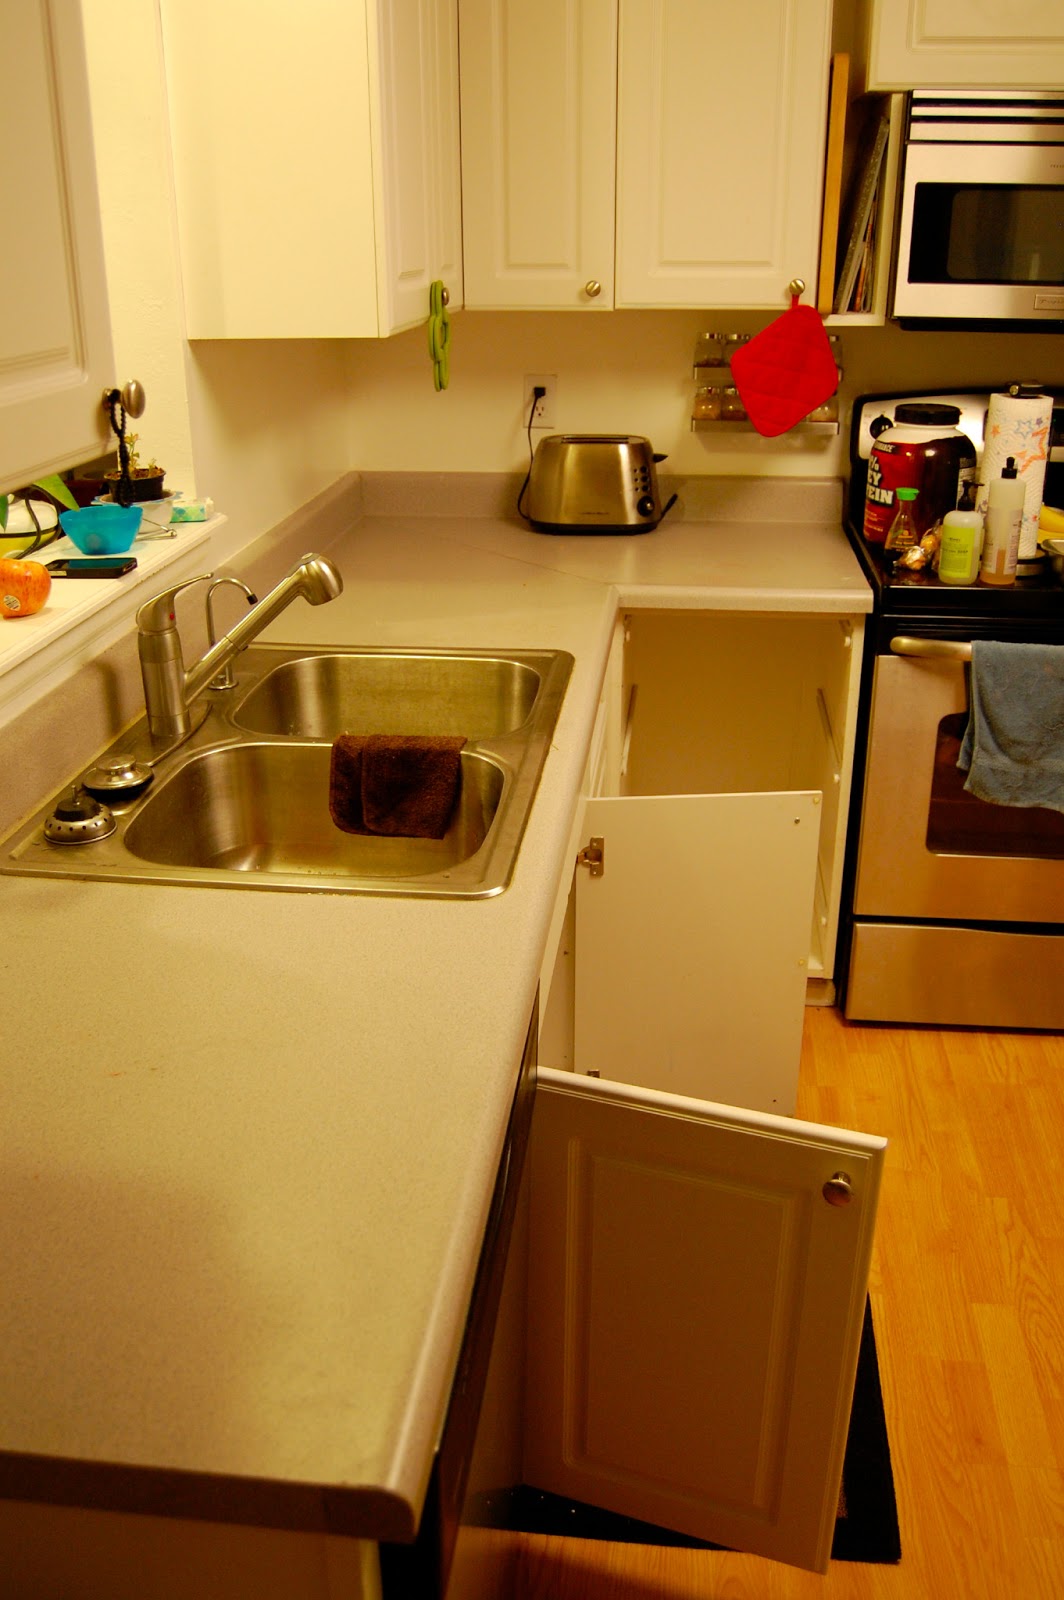
A sneak peek of the before (this was before the counter top replacement too)......
The tile regrouting or grout coloring is and important process by which we can keep tiles and stones safe as well as it will becomes looking nice.
ReplyDelete